Create Date Stamp Image Online: Free AI Tools & Easy Methods
Table of Contents
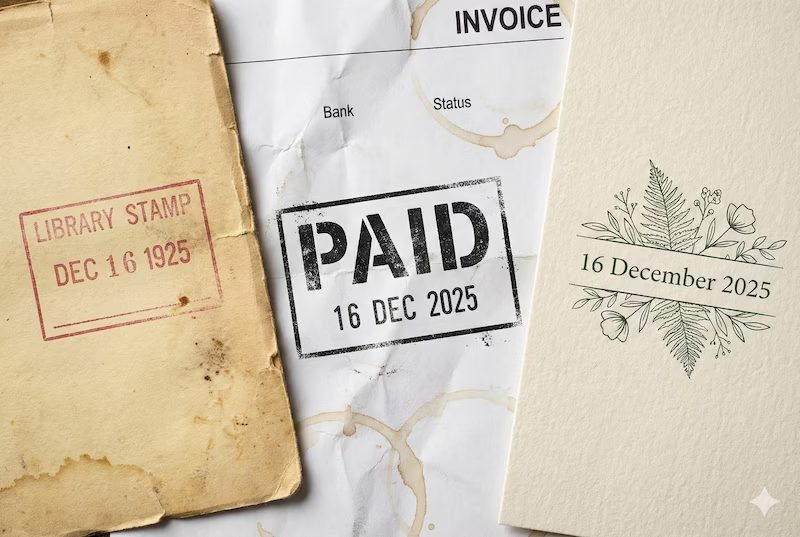
There is something strangely satisfying about the look of an old ink stamp. Whether it’s the nostalgic "CHECKED OUT" stamp from a library book or the gritty "PAID" mark on an invoice, these little imperfections add so much character.
But if you’ve ever tried to create a digital version online, you probably ran into the same problem I did: the free tools are boring.
Most of them just give you a perfect red circle with a standard computer font. It looks... fake. It lacks that "ink on paper" texture we actually want.
The good news? You don't have to settle for those rigid templates anymore. With new AI tools like PixSprout, you can "describe" the exact stamp you want, and generate something that looks unique and authentic.
Here is how to do it.
Why "Templates" Are Out and AI Is In
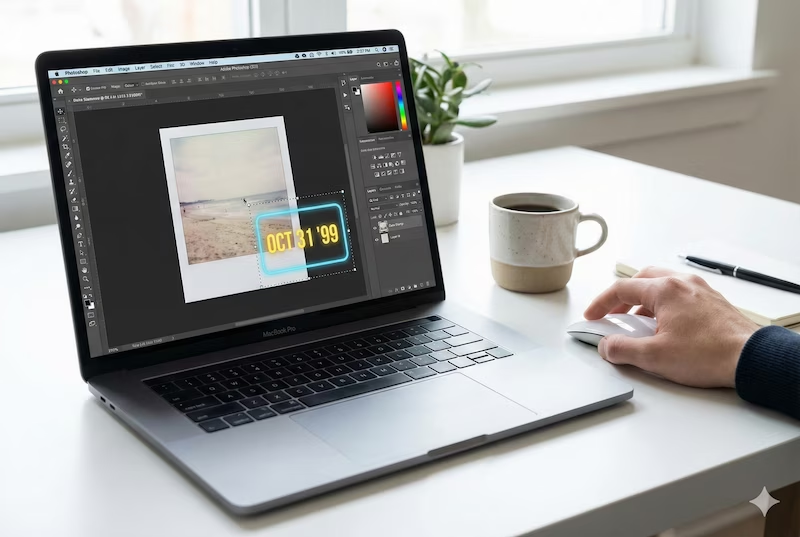
I used to spend 20 minutes in Photoshop trying to make a date stamp look "grunge." I’d add noise layers, erase bits of the letters, and rotate it slightly. It was a hassle.
With PixSprout’s Text to Stamp Generator, the logic is different. You aren't building the stamp; you are describing it.
If you want a messy, smeared ink look? You just ask for it. If you want a clean, futuristic date format? You ask for that instead. It gives you creative freedom that a fixed template never could.
How to Create Your Custom Date Stamp
It’s surprisingly addictive once you start. Here is my simple workflow to get a cool result.
1. Head to the Generator
Go to the PixSprout Text to Stamp tool. You don't need to sign up or download anything to start testing prompts.
2. The "Secret Sauce" (Writing the Prompt)
This is where the magic happens. Don't just type the date. You need to give the AI a bit of flavor.
Here are a few prompts I’ve used recently that worked great:
-
The "Library Nostalgia" Vibe:
"Vintage library checkout stamp with date 'OCT 31 1999', red ink style, worn texture, slightly faded." (Perfect for retro aesthetics or scrapbooking)
-
The "Strict Business" Vibe:
"Rectangular rubber stamp, text 'RECEIVED 2025-12-16', bold stencil font, heavy grunge texture, black ink." (Great for invoices or document management)
-
The "Wedding/Event" Vibe:
"Minimalist circular date stamp '12.16.25', clean lines, serif font, elegant botanical border." (Lovely for Save-the-Dates)
Note: Sometimes the AI might misspell a digit or make the text a bit squiggly on the first try. That’s normal! Just hit generate again. It’s like rolling dice—sometimes you need a second roll to get the perfect one.
3. Download the Transparent File
Once you see a design you love, download it. PixSprout automatically creates a Transparent PNG. This is crucial. It means your stamp is just the "ink"—there is no white background box. You can drop it onto any photo or document, and it will look like it was stamped right there.
How to Use Your New Stamp
Now that you have your file, what do you do with it?
- On Invoices: Drag and drop the PNG into Word, Excel, or your PDF editor. Place it over the "Total" line.
- On Photos: Open your phone’s photo editor or Canva. Add your stamp as an "Overlay."
- Pro Tip: Rotate it! A real human never stamps perfectly straight. Rotating your image just 2 or 3 degrees makes it look 10x more realistic.
Give It a Shot
You don't need to be a designer to make something that looks cool. Next time you need a date stamp, skip the boring templates and try creating something unique.
Ready to see what you can come up with?
Recommended Posts
Stop Getting Hand Cramps: The Brutal Truth About Signature Stamp Makers
Tired of signing hundreds of checks by hand? Most custom signature stamps end up looking like smudged garbage. Here's exactly how to get one that actually works.
Custom Stamp Maker Guide: DIY Machines vs. Pro Services vs. AI Tools
Stop wasting money on bad ink. Here’s the honest truth about custom stamp makers, from the Silhouette Mint to digital AI design tools.
AI Stamp Maker: Stop Overpaying for Custom Digital Seals (2026 Guide)
Still waiting days for a designer to make a simple stamp? Stop. Here’s how AI stamp makers let you generate custom, vintage, or business seals in seconds.
Pet Memorial Stamp Design Maker: Turning Memories into Keepsakes
The house feels too quiet? Create a custom pet memorial stamp to honor your best friend. A simple, heartfelt guide to turning photos into lasting tributes.
Custom Portrait Stamp Maker for Wedding: The DIY AI Guide
Don't pay the 'wedding tax' for custom art. Learn how to use AI to generate your own wedding portrait stamp design in seconds with PixSprout.
Convert Logo to Stamp PNG Transparent: The 'No-Stress' Guide
We've all struggled with Photoshop masks. Here is how to convert your logo to a realistic stamp PNG without losing your mind.
Comments
No comments yet