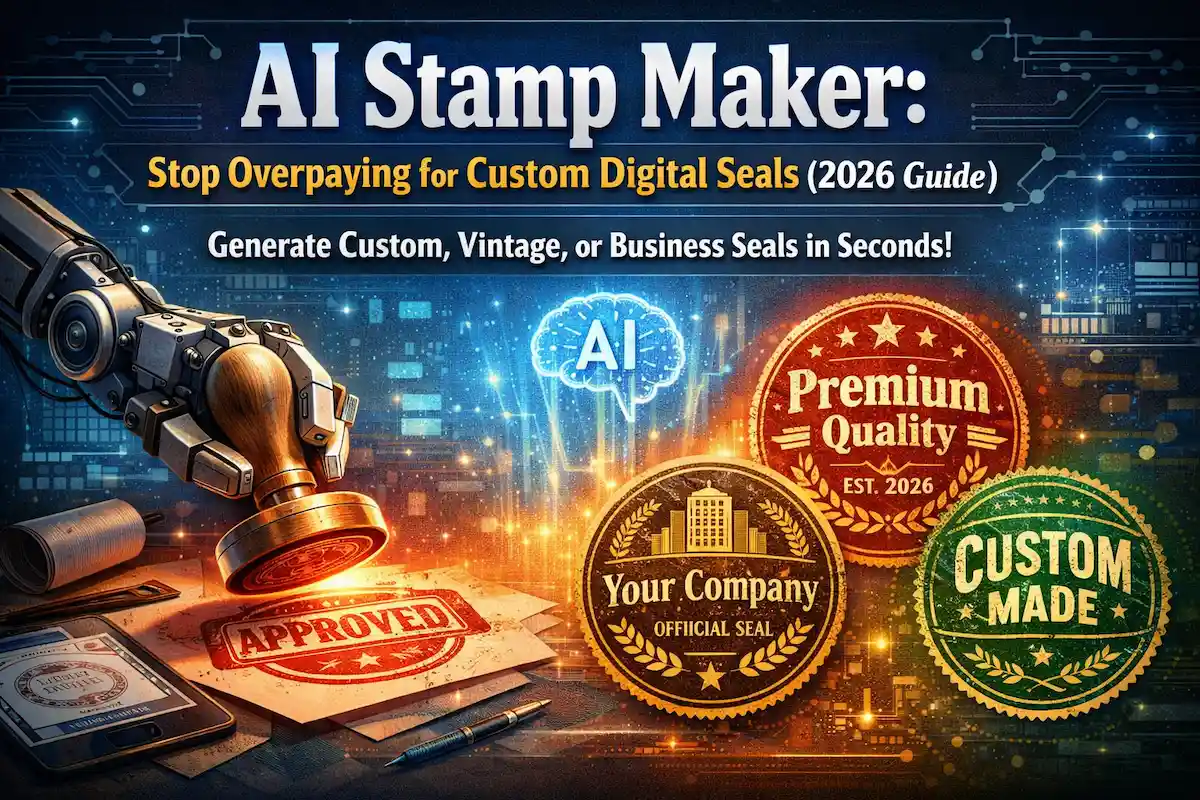
AI Stamp Maker: Stop Overpaying for Custom Digital Seals (2026 Guide)
Table of Contents
I still remember the first time I needed a digital stamp for a contract. It was years ago. I spent two hours fighting with Photoshop layers, trying to get that "grunge" texture to look just right on the edges. I failed. Miserably. I ended up paying a freelancer $40 to do it.
He sent the file back two days later. Two days. For a circle with some text.
That era is dead.
If you are still paying for basic digital seals, or worse, struggling with complex vector software just to get a "PAID" stamp on an invoice, you’re doing it the hard way. The rise of the AI stamp maker has completely flipped the script. We aren't just talking about slapping a filter on a photo anymore. We are talking about generative tools that understand context, ink bleed, and negative space.
It’s fast. It’s usually free (or dirt cheap). And frankly, the quality often beats what you get from a tired graphic designer on Fiverr.
But here is the ugly truth: not all of these tools are built the same. Some are just glorified clip-art libraries. Others are actual powerhouses.
Let's cut through the noise and look at how this tech actually works, and how you can exploit it to save time.
The Real Deal: What Actually Is an "AI Stamp"?
Most people hear "AI" and roll their eyes. I get it. The term is slapped on everything from toasters to toothbrushes.
But in the context of stamp making, it refers to a specific set of operations that used to take a human 20 minutes to do manually. When you use a tool like Template.net or the various prompt-based generators popping up, the software is doing three distinct heavy lifts simultaneously:
- Vectorization: It takes raster data (pixels) and tries to convert it into mathematical paths. This is why you can scale a good digital stamp without it looking like a blurry potato.
- Texture Synthesis: This is the secret sauce. A real rubber stamp is imperfect. It has dry spots. It has ink pooling at the edges. AI tools simulate this "stochastic noise" to make the digital file look physically stamped.
- Semantic Layout: If you type "Round company seal with star in middle," the AI has to understand that "round" applies to the border, and the "star" goes in the center, not floating off in the void.
This is why the new wave of tools—like CustomStamps.ai or Stampdy—are crushing older software. They don't just paste text; they construct a design based on what the text implies.
Why Most DIY Strategies Fail
Here is a scenario I see constantly.
A business owner wants a logo stamp. They take their high-res, colorful JPEG logo. They open a basic photo editor. They turn it black and white. They invert the colors.
The result? A gray, muddy mess that looks like a photocopy of a photocopy.
Why does this happen? Because stamps rely on binary thresholding. A physical stamp is either ink or no ink. There is no "gray." There is no "shadow."
Most people fail because they try to force a complex, shaded image into a medium that demands absolute contrast. You have to strip the image down to its bones before you can build it back up as a stamp.
This is where the specialized tools win. They automatically apply thresholding algorithms that strip out the mid-tones and leave you with those crisp, hard lines that define the stamp aesthetic.
The "Clean Input" Rule
Garbage in, garbage out. It’s the oldest rule in computing, but it counts double here.
If you are trying to turn your company branding into a seal, you cannot use a photo of your business card taken in bad lighting. The AI needs high contrast.
I recently tried to help a client digitize a hand-drawn signature for a stamp. They sent a photo taken on a kitchen table. The shadow of their phone was visible in the corner. When we ran it through a basic filter, the shadow became a giant black blob of "ink."
We had to run it through a dedicated pre-processor first. That’s the step most people skip. They blame the stamp maker, but really, they failed the prep work.
Actionable Steps: From Zero to Stamped
Okay, let's get practical. You need a stamp right now. Maybe it's a "CONFIDENTIAL" mark for a PDF, or maybe it's a vintage-style logo for a t-shirt design.
Here is the workflow that actually works.
1. Choose Your Origin Point
Are you starting with text, or an image?
If it's text: Don't overthink the prompt. If you are using a generative tool, keep it literal. "Red circular rubber stamp, text says APPROVED, grunge texture." The more poetic you get ("A stamp that evokes the feeling of corporate victory"), the more confused the AI gets. Simple works.
You can save massive amounts of time by just typing a simple description rather than trying to drag-and-drop individual text boxes in Canva. Let the machine handle the kerning (the spacing between letters) on the curve. Humans are terrible at curving text manually; AI is mathematically perfect at it.
If it's an image: This is trickier. You need a logo or a sketch. The goal is to convert that existing graphic into the "stamped" look.
- Contrast is King: Ensure your image is black on white (or vice versa).
- Simplicity: Remove gradients. Stamps don't do gradients.
2. The Background Problem (Crucial)
This is where 90% of designs die.
You generate a beautiful stamp. It looks great on the screen. You download it. You drag it onto your document... and it has a big, ugly white box around it covering your text.
You need a transparent PNG.
Many "free" tools will give you a JPG. A JPG does not support transparency. It is useless for a digital stamp unless you are printing it on white paper. If you have an existing logo file that has a white background, you need to nuke that background before you even think about turning it into a stamp.
I always recommend stripping out that messy background first. Get your asset to a clean, transparent state. Then apply the stamp effects. If you try to do it in reverse, the stamp texture (the little white specs that make it look worn) will get confused with the background white.
3. Dialing in the "Roughness"
Once you have the base design, you need to age it. A digital stamp that looks too clean looks fake. It looks like MS Paint.
You want "Roughness" or "Noise."
- Low Roughness: Corporate seals, official notary-style stamps. You want clean lines, maybe a tiny bit of edge wobble.
- High Roughness: Vintage logos, "Top Secret" dossier vibes, artistic projects. You want chunks of the letters missing.
Pixelcut and similar tools are good at applying this texture as a post-process effect. But be careful. If you add too much noise to small text, it becomes unreadable. It’s a balancing act between aesthetic and legibility.
Advanced Nuance: The SVG vs. PNG Debate
If you are a designer, you are probably screaming, "What about vectors?!"
Here is the thing. For most users—office managers, hobbyists, small business owners—a high-resolution PNG is fine. It’s compatible with Word, Google Docs, and Canva.
But if you are planning to print this stamp on a billboard or a large banner, you have a problem. Stamp effects (the grit and grain) are usually raster-based. They are pixels. If you blow them up, they get blocky.
Some advanced AI stamp makers offer SVG (Scalable Vector Graphics) export. This creates the "grunge" effect using vector nodes. It is computationally heavy, and sometimes the file sizes are huge, but it is infinitely scalable.
My advice? Stick to PNG for screen use (websites, email signatures, PDFs). Hunt for an SVG option only if you are sending this to a physical print shop.
Who Is This Actually For?
I've seen the user base for this shift dramatically in the last two years.
- The Freelancer: You need to sign and seal 10 contracts a week. Printing, stamping, scanning, and emailing is a waste of life. A digital stamp allows you to "stamp" a PDF in Acrobat in seconds.
- The E-commerce Shop: Branding matters. Adding a "verified" or "hand-packed" digital stamp to your "Thank You" email graphics adds a layer of human touch, even if a robot made the stamp.
- The Pet Owner: Weirdly specific, I know. But turning a photo of a dog into a stylized stamp for holiday cards is a massive trend right now. It captures the silhouette perfectly without needing a drawing degree.
Wrapping Up
Stop overcomplicating it.
You don't need Adobe Illustrator. You don't need to pay a designer to outline text in a circle. The technology has matured to the point where "good enough" is actually "excellent."
The only thing you need to watch out for is the file format. Keep your backgrounds transparent, keep your contrast high, and don't be afraid to let the AI do the heavy lifting on the layout.
The physical rubber stamp had a good run. It lasted about 150 years. But unless you really love the smell of ink pads and the sound of thwack-thwack on a desk, the digital alternative is just better.
Go make something.
Recommended Posts
Stop Getting Hand Cramps: The Brutal Truth About Signature Stamp Makers
Tired of signing hundreds of checks by hand? Most custom signature stamps end up looking like smudged garbage. Here's exactly how to get one that actually works.
Custom Stamp Maker Guide: DIY Machines vs. Pro Services vs. AI Tools
Stop wasting money on bad ink. Here’s the honest truth about custom stamp makers, from the Silhouette Mint to digital AI design tools.
Pet Memorial Stamp Design Maker: Turning Memories into Keepsakes
The house feels too quiet? Create a custom pet memorial stamp to honor your best friend. A simple, heartfelt guide to turning photos into lasting tributes.
Custom Portrait Stamp Maker for Wedding: The DIY AI Guide
Don't pay the 'wedding tax' for custom art. Learn how to use AI to generate your own wedding portrait stamp design in seconds with PixSprout.
Convert Logo to Stamp PNG Transparent: The 'No-Stress' Guide
We've all struggled with Photoshop masks. Here is how to convert your logo to a realistic stamp PNG without losing your mind.
Create Date Stamp Image Online: Free AI Tools & Easy Methods
Tired of boring date stamp templates? Learn how to generate custom, vintage, or gritty date stamps from text prompts using PixSprout.
Comments
No comments yet